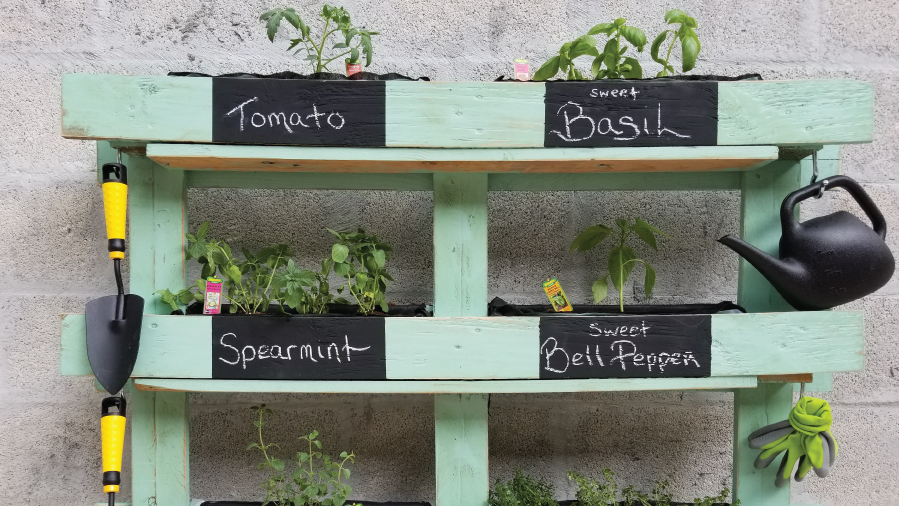
Nothing beats using fresh herbs for cooking. It’s the cherry on top of your already delicious meal. Fresh herbs aren't just for chefs and expert gardeners it’s a very simple practice that you can do today! Having fresh herbs in your kitchen ready to grab and incorporate into your dish without missing a beat is a convenience you probably won't be able to live without moving forward. Not only is the functionality of fresh herbs life changing, this herb garden is also ridiculously adorable. In true Red Rose fashion, we are always thinking about tea so we just had to put the herbs in mugs.

STEP 1: Pick your mugs This may be the most fun part. Whether you are using mugs you already have or you are taking this chance to go shopping, the mugs will be a big focal point for your herb garden. If your style is simple and more minimal you could go for white, maybe even use some chalkboard paint to create cute labels on your mugs to write what each herb is. The possibilities are endless and there is so much room to channel your creativity and personal style.

STEP 2: Find a good home for your herbs As with any plant, they will need sunlight to truly thrive. Scope out a place in your kitchen that has a good amount of sunlight. If your kitchen doesn’t have the best light, find another spot in your house that you can put your herb garden. It will lighten any room because they are just so adorable.

Step 3: Choose your herbs Think about your style of cooking and what would be most practical for you to start out. Mint is great to top off your glass and takes every drink to the next level. Rosemary and basil are perfect for bringing prominent and fresh flavor to your dish. Cilantro is great to have for your homemade guac or to top off your taco Tuesday. Think about what you would use and start there.
Step 4: Create drainage There are two ways to ensure that your herbs have the drainage they need to truly thrive. The most ideal option would be creating a drainage hole at the bottom of your mug. • Lay the mug upside down on a table. Be sure to put down a towel first to act as a cushion between the table and the mug.
- During this process you will want to keep the surface of the mug wet with cold water where you will be drilling. Mugs are very easy to break and the heat from the drill could damage the mug.
- Starting at an angle, slowly drill into the mug. Continue carefully drilling without applying too much pressure. Once you have created a hole that is about dime size, you’re good to!
*If drilling isn’t an option for you, layer some pebbles or sand underneath your soil to help create some drainage for your herbs.
Step 5: Plant and watch them grow Depending on if you want your herbs immediately or you’re excited to watch them grow from a seed, you can purchase the herbs in seed or plant form. Transfer them to the pot with potting soil and water once or twice a week depending on what that herb needs (refer to care instructions when purchasing). Get ready to enjoy fresh herbs every day!